Getting Started
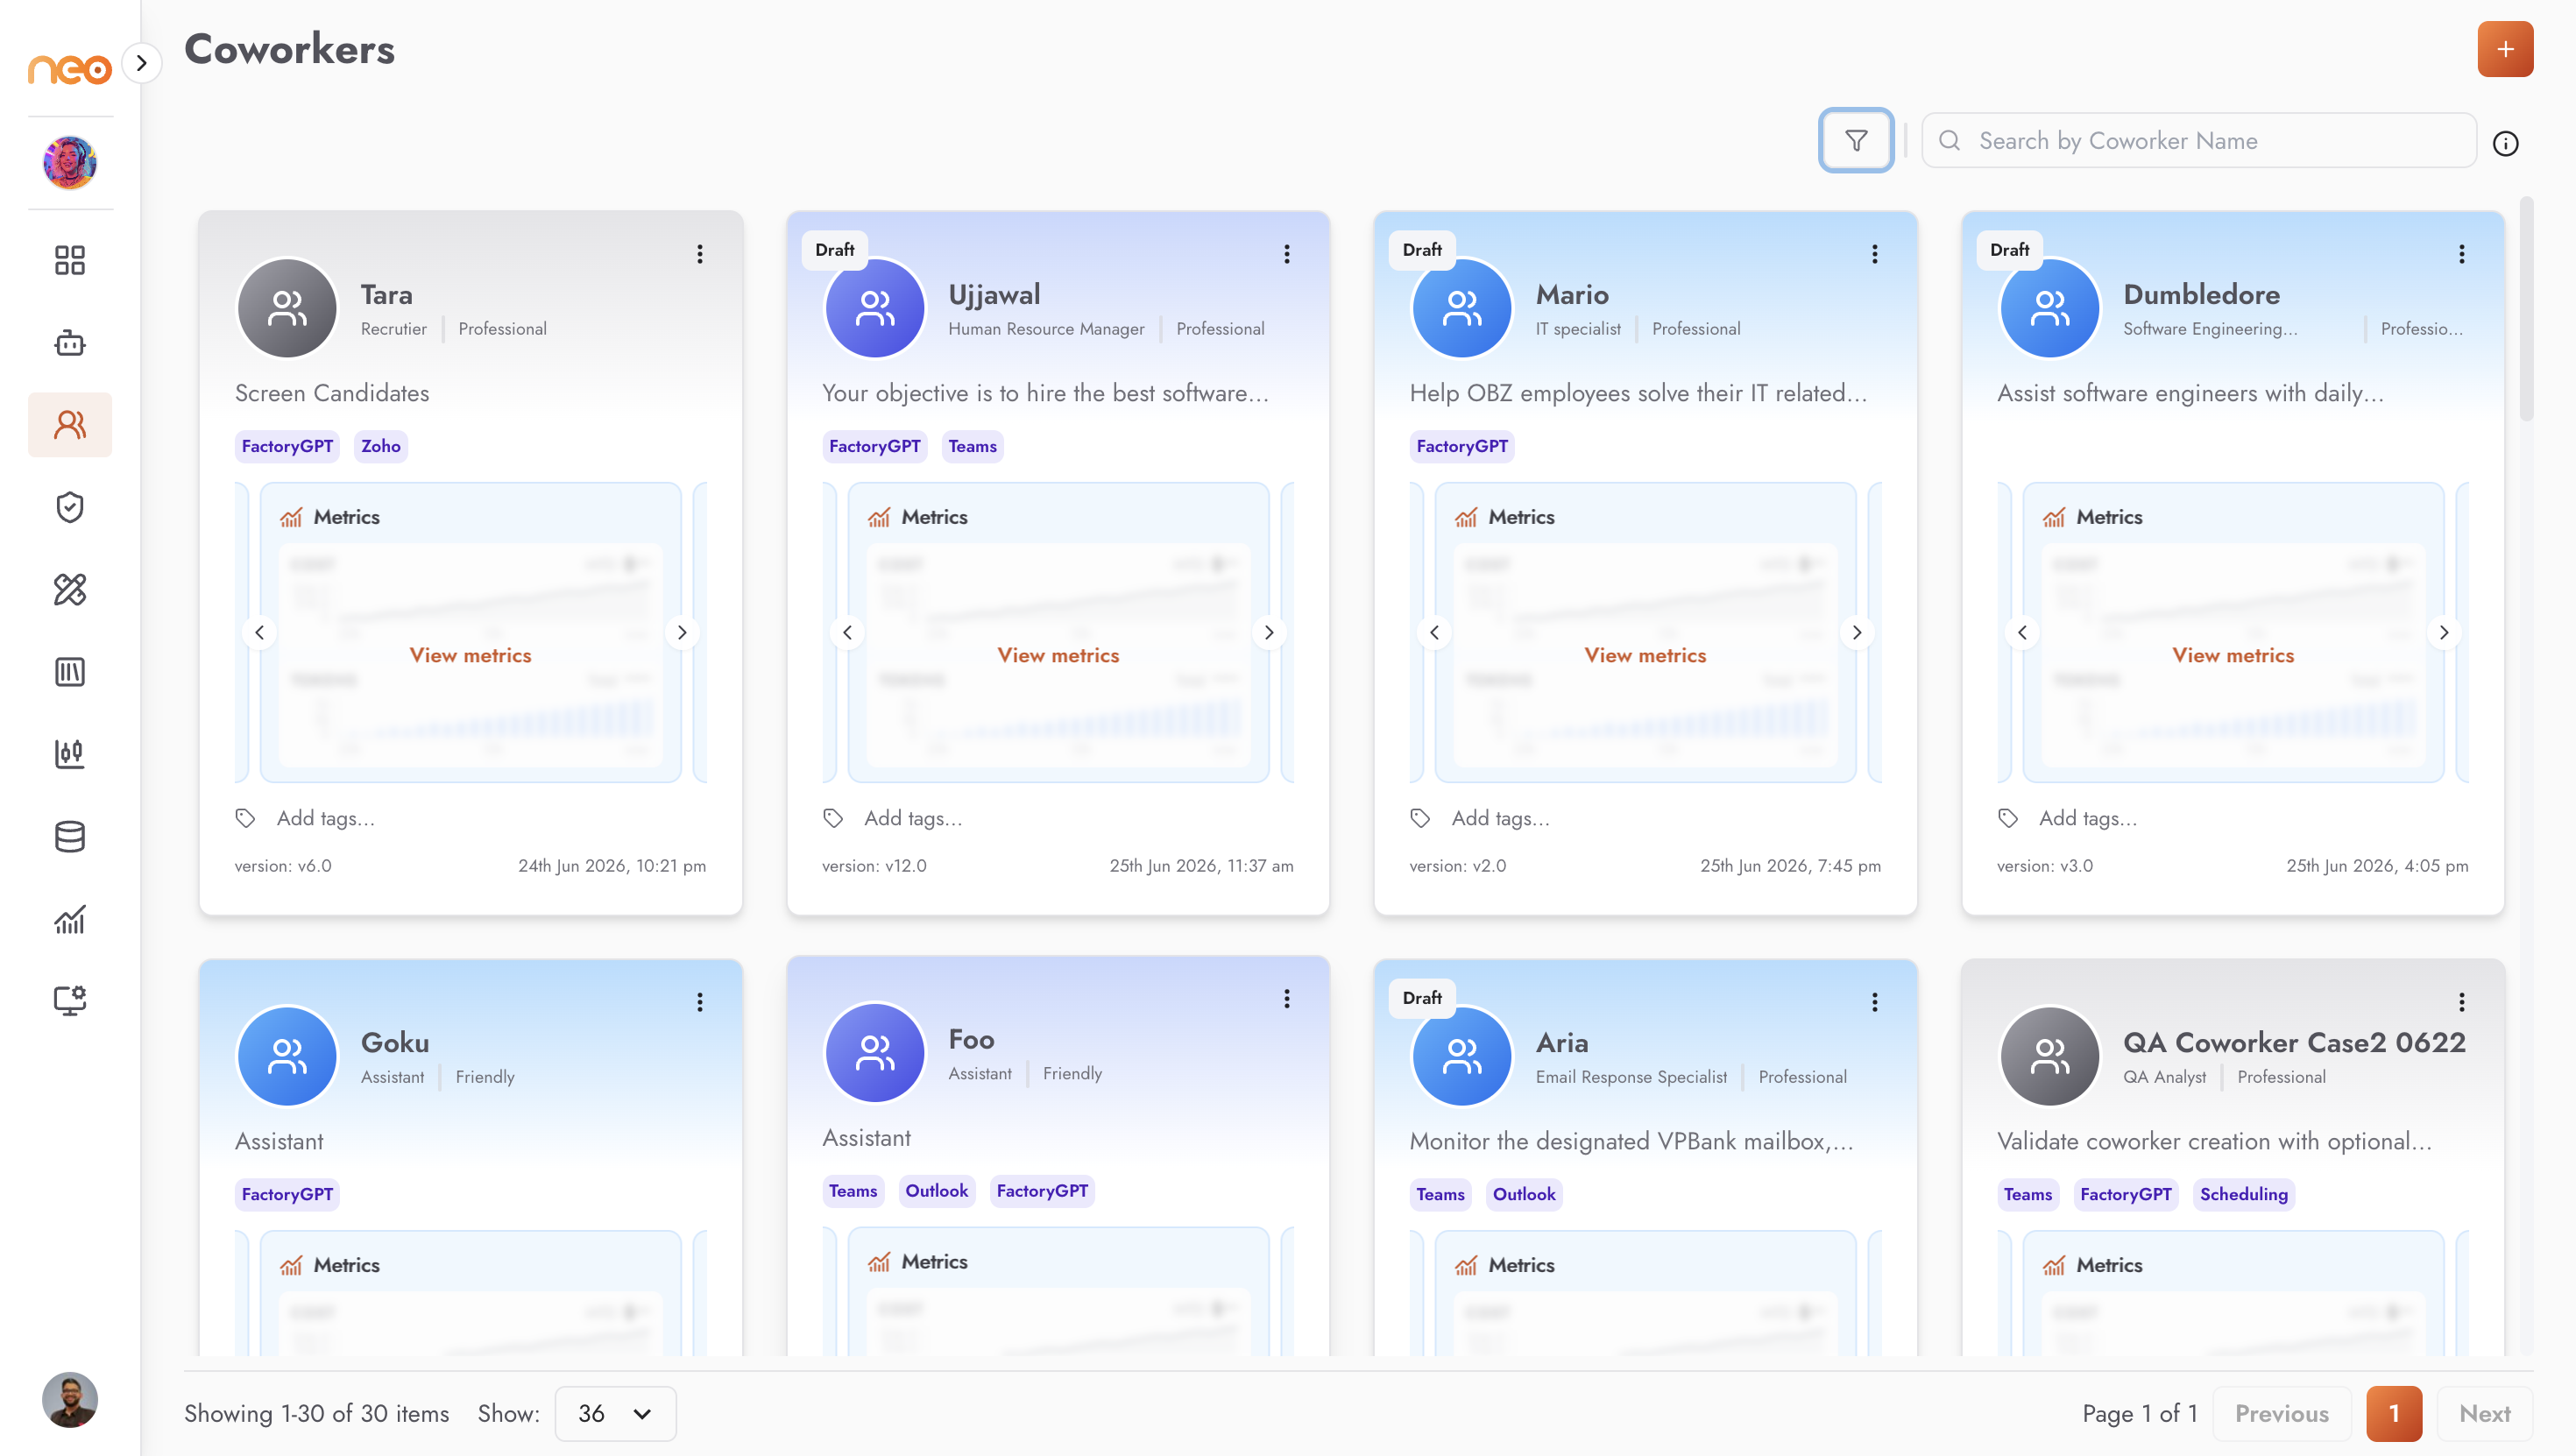
Co-Workers live under Coworkers in the left sidebar. The list page shows a card for each Co-Worker in the workspace, with a Create Coworker (+) button to add a new one.
Roles and Permissions
What you can do with a Co-Worker depends on your workspace role. If an action described in this section is unavailable to you, ask your workspace administrator to grant the relevant permission.
Permission |
What it allows |
|---|---|
View |
See the Coworkers area and open a Co-Worker. This is the prerequisite for every other permission. |
Create |
Show the Create Coworker button and create a new Co-Worker. |
Edit |
Save changes to an existing Co-Worker. |
Delete |
Delete a Co-Worker. |
Deploy |
Publish and deploy a version. |
Quickstart: Your First Co-Worker
The fastest path to a working Co-Worker:
Click Create Coworker (the + icon). On the Hire a digital coworker welcome screen, click Let’s get started.
On Basics & Identity, enter the Name, Tone, Job role, Foundation model, and Objective, then save.
Add one Channel — for example NeoGPT for internal chat.
Add a Skill or two on the Skills tab.
Click Publish. The Co-Worker is versioned, compiled into an agentic flow, and deployed — its status becomes Active.
Open it in NeoGPT (or your channel) and send it a message.
For a guided, step-by-step first build, follow Build Your First Co-Worker. For a complete, real-world example, see the Build a Co-Worker: An IT Helpdesk Assistant.
The Creation Wizard
Creating a Co-Worker opens a guided wizard with seven steps, shown as a progress bar:
Basics & Identity → Channels → Skills → Memory → Behaviour → Governance → KPIs & Output Details
Only five fields are required to create the Co-Worker — Name, Tone, Job role, Foundation model, and Objective, all on the first step. Saving that first step creates the Co-Worker straight away — you do not need to finish the wizard — so you can leave and return at any time; every later step has a Skip for now link.
Note
Co-Worker names must be unique within a workspace.
If you have permission to deploy, saving Basics also brings the Co-Worker online — its status becomes Active right away, with no separate Publish step. Otherwise it is saved as a draft until someone publishes it.
As you fill in the other tabs, Publish to apply your changes (see Publishing and Versioning). Two tabs need a published version first:
A Channel or proactive routine can only be enabled after you have published at least once.
The KPIs & Output Details tab appears only after the first publish.
The Detail (Edit) Page
Opening an existing Co-Worker shows the same areas as tabs across the top. The Basics tab is always available; the others enable once the record exists. Publishing controls — the version history and the Publish button — sit at the top right.

From here you can revisit any tab, make changes, and republish. The pages that follow walk through each tab in turn, beginning with Basics & Identity.