NeoGPT
NeoGPT is an in-platform chat interface built into OneByZero Neo. It lets you converse directly with any published agent from within the platform — without deploying to an external channel or leaving the browser.
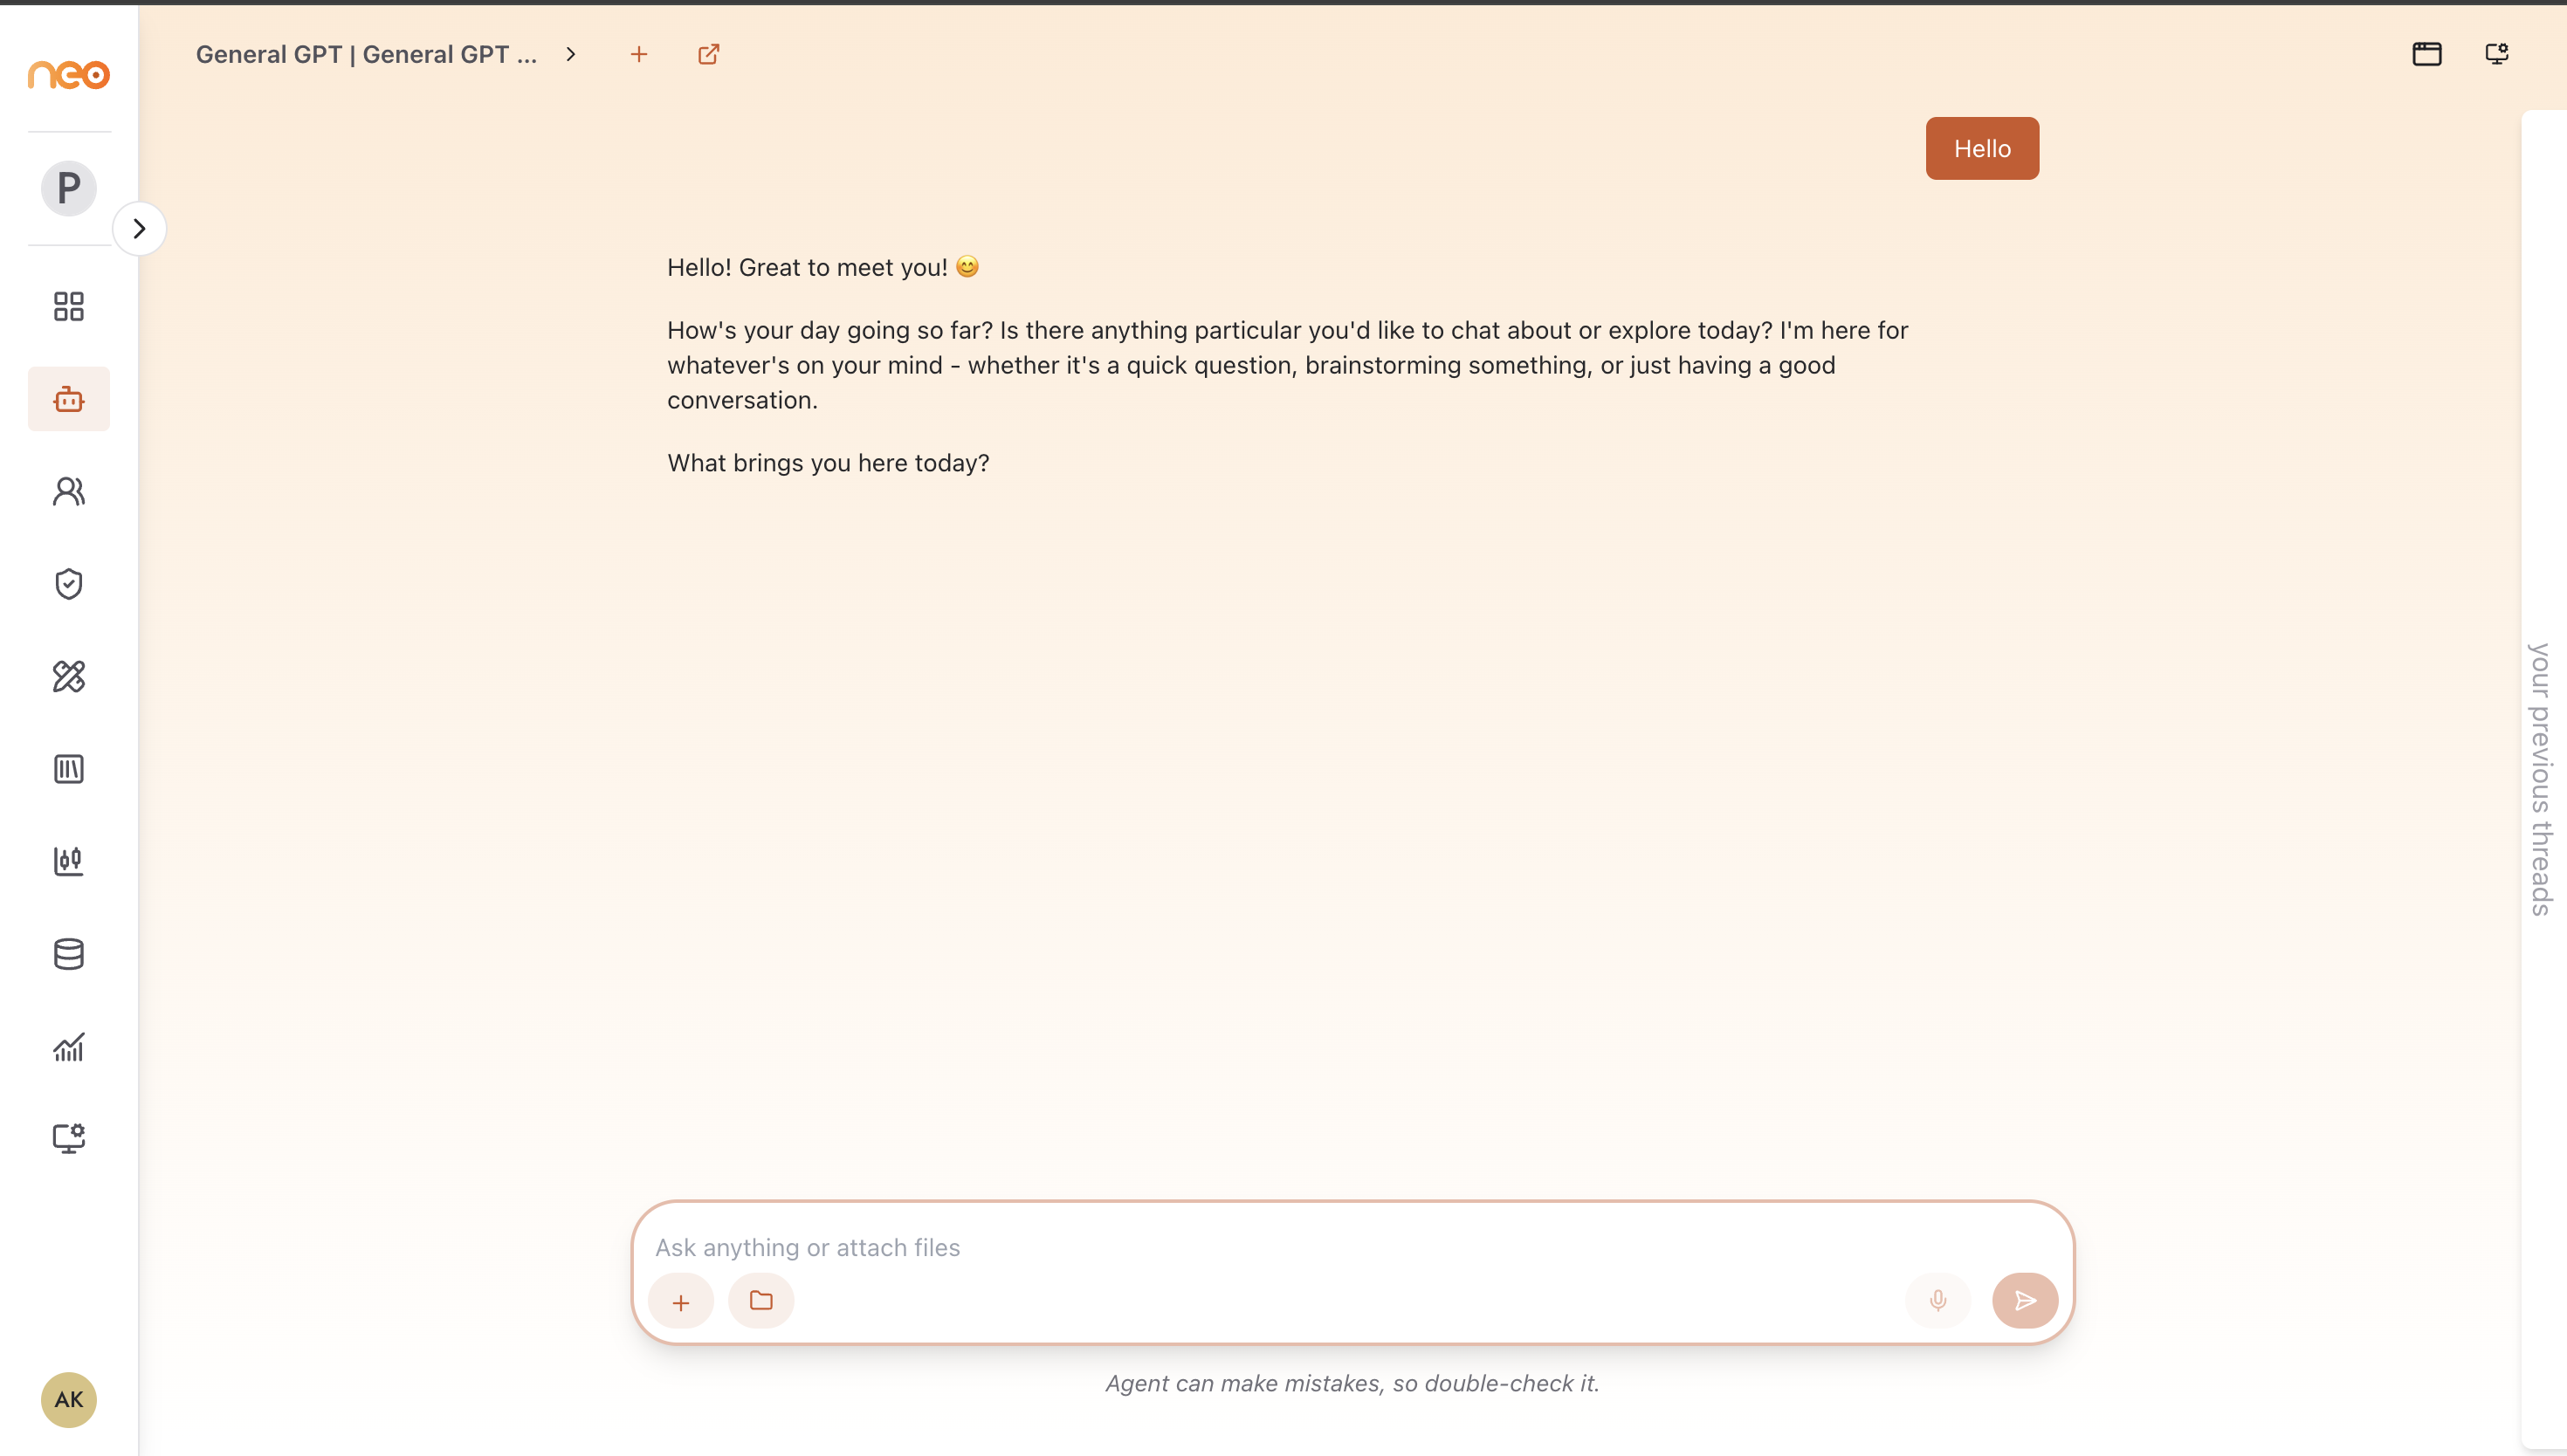
NeoGPT is accessible from the NeoGPT item in the left sidebar. Access is controlled by the canViewFactoryGPT permission.
Agent Selector
When NeoGPT opens, a dropdown at the top left lists all agents configured for NeoGPT in the current workspace. Select an agent to start a conversation with it. The chat screen loads on the right and the selected agent handles your messages through its full published configuration — tools, knowledge bases, guardrails, and all.
One agent can be marked as the default using the star icon next to its name in the dropdown. The default agent loads automatically each time NeoGPT is opened, so you don’t need to select it manually.
Once an agent is selected, two additional controls appear next to the dropdown:
New thread (plus icon) — starts a fresh conversation with the current agent without losing the thread history.
Go to flow / Go to settings (link icon) — navigates directly to the agent’s flow editor or settings page, depending on agent type. Useful for quickly jumping into the builder after spotting an issue in a conversation.
Chat Screen
The chat screen is a standard conversational interface:
Type a message and press Enter or click Send to submit.
The agent’s responses stream back in real time.
Agent responses can be copied to clipboard using the copy button that appears on hover.
Messages are timestamped.
Each conversation is tracked as a thread. Threads persist across sessions — returning to NeoGPT shows your recent threads for the selected agent.
File Attachments
Users with the canViewFactoryGPTFiles permission can attach files to their messages. The attachment button (paperclip icon) appears in the chat input bar. Attached files are sent alongside the message and made available to the agent as context — useful for asking the agent to analyse, summarise, or answer questions about a specific document.
Attached files are visible as chips in the input bar before sending. Click a file chip to preview it; click the × to remove it before sending.
Voice Input
A microphone button in the chat input bar lets you record a voice message. The recording is transcribed and the resulting text is placed in the input field — you can then edit it before sending.
Voice input requires a transcription provider to be configured in Account Settings → Personalization. If no provider is configured, the microphone button is visually disabled and shows a tooltip directing you to Account Settings.
Tool Toggles
An Integrations button (grid icon) in the chat input bar opens a dropdown listing all tool nodes in the selected agent’s flow. Each tool has an on/off toggle. Use this to selectively enable or disable specific tools for the current conversation — for example, disabling a database tool when you want to test the agent’s base reasoning without external lookups.
Tool state is persisted per thread. Toggling a tool mid-thread updates the configuration for all subsequent messages in that thread.
Threads and Recent History
NeoGPT maintains a thread history per agent. Recent threads are accessible from the left panel (visible to users with the canViewFactoryGPTThread permission), allowing you to continue a previous conversation or review what was discussed. Starting a new conversation creates a new thread.
Projects View
NeoGPT includes a Projects view, accessible via the view toggle at the top of the page. Projects let you group related threads together — useful when you are running structured tests or investigations across multiple conversations with the same agent.
Switch to Projects view to see all your projects.
Open a project to view the threads within it.
Create a new project to begin grouping threads.
Live View Panel
When the selected agent includes a BrowserMCP tool in its flow, a Live View button appears at the top right of the chat screen. Clicking it opens a side panel that shows the browser session the agent is controlling in real time — useful for watching an agent navigate web pages as part of a task.
The Live View panel only appears when the active agent’s flow includes a BrowserMCP-type MCP server node.
Use Cases
Smoke-testing a published agent — verify that a freshly published version behaves as expected before announcing it to end users.
Demonstrating an agent — show stakeholders how an agent responds to real inputs without needing a deployed channel.
Comparing agent behaviour — switch between agents to compare responses to the same question side by side (across separate threads).
Debugging with LLM Traces — start a conversation in NeoGPT, then open the agent’s LLM Traces tab to inspect exactly which prompts were sent and what responses were returned.
Best Practices
NeoGPT conversations appear in the agent’s Conversations tab with a
simulationtag, distinguishing them from live user conversations. Keep this in mind when reviewing conversation history.Use Projects to organise test scenarios — create one project per test scenario so results are easy to find and compare later.
For systematic regression testing, use the Simulations tab (available on Chatbot and Voice agents) rather than NeoGPT — Simulations run predefined inputs repeatably and store results for comparison.