Workspace Setup
The Workspace tab in Workspace Settings handles the basic identity of the workspace itself — its name and its unique ID. It is also where a Workspace Administrator can permanently delete the workspace.
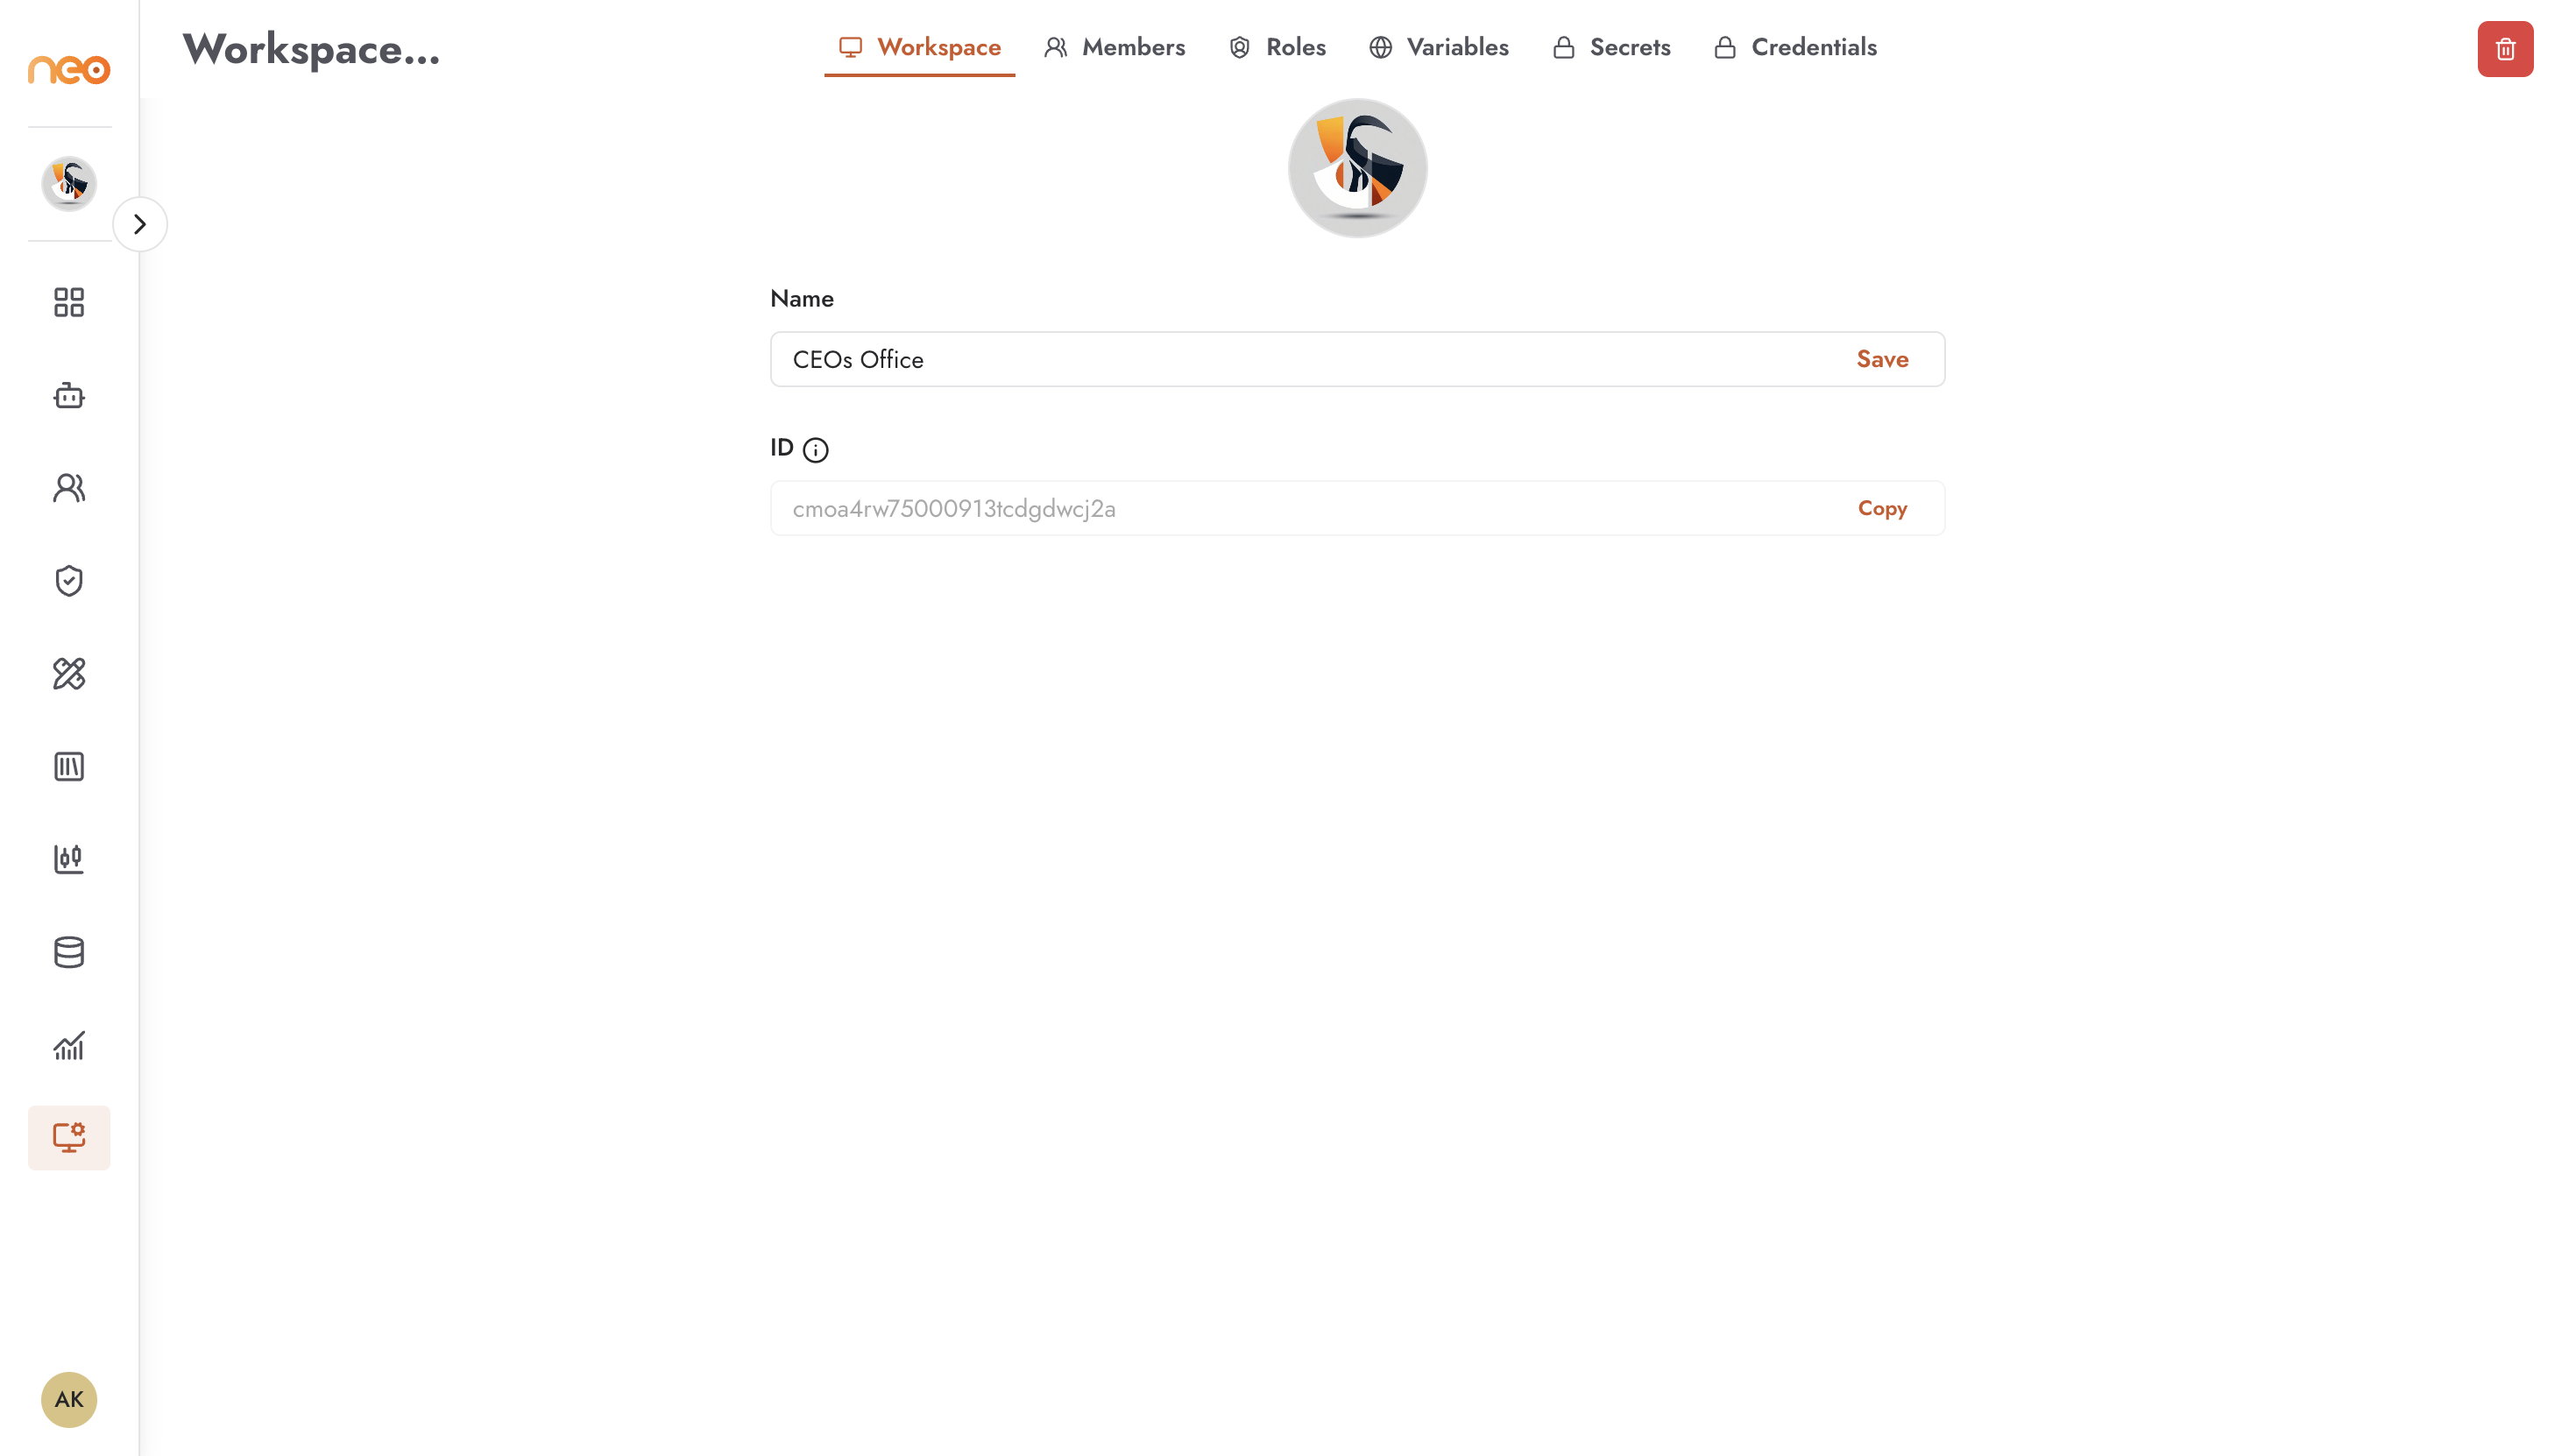
The tab displays two fields:
Name — the workspace’s display name, visible to all members and in the workspace switcher
ID — the system-generated unique identifier; read-only, used in API calls and when raising support requests. Use the Copy button to copy it to your clipboard.
Renaming the Workspace
Edit the Name field and click Save. The new name takes effect immediately across the platform — it updates in the workspace switcher, in Super Admin views, and in analytics filters.
Choose names that are descriptive of the workspace’s purpose or owning team, since the name is the primary way members identify which workspace they are in.
Deleting the Workspace
Click Delete to permanently remove the workspace. Before confirming, be aware that deletion:
Removes all agents, knowledge bases, variables, secrets, and credentials in the workspace
Removes all member associations
Cannot be undone — there is no recovery path
If anything in the workspace needs to be preserved, export or migrate it before proceeding. Super Administrators can also delete workspaces from the platform-level Control Center if needed.
Best Practices
- Descriptive naming
Choose a workspace name that clearly signals its purpose or owning team — for example, the business unit name or product it supports. Avoid generic names like “test” or “workspace1” which become confusing as the platform grows.
- Keep the workspace ID accessible
The workspace ID is required for API integrations and support requests. Store it in your team’s internal documentation alongside the workspace name so it is easy to find when needed.