Member Management
The Members tab is where Workspace Administrators control who has access to the workspace and what role they are assigned. Only users listed here can log in and work within the workspace.
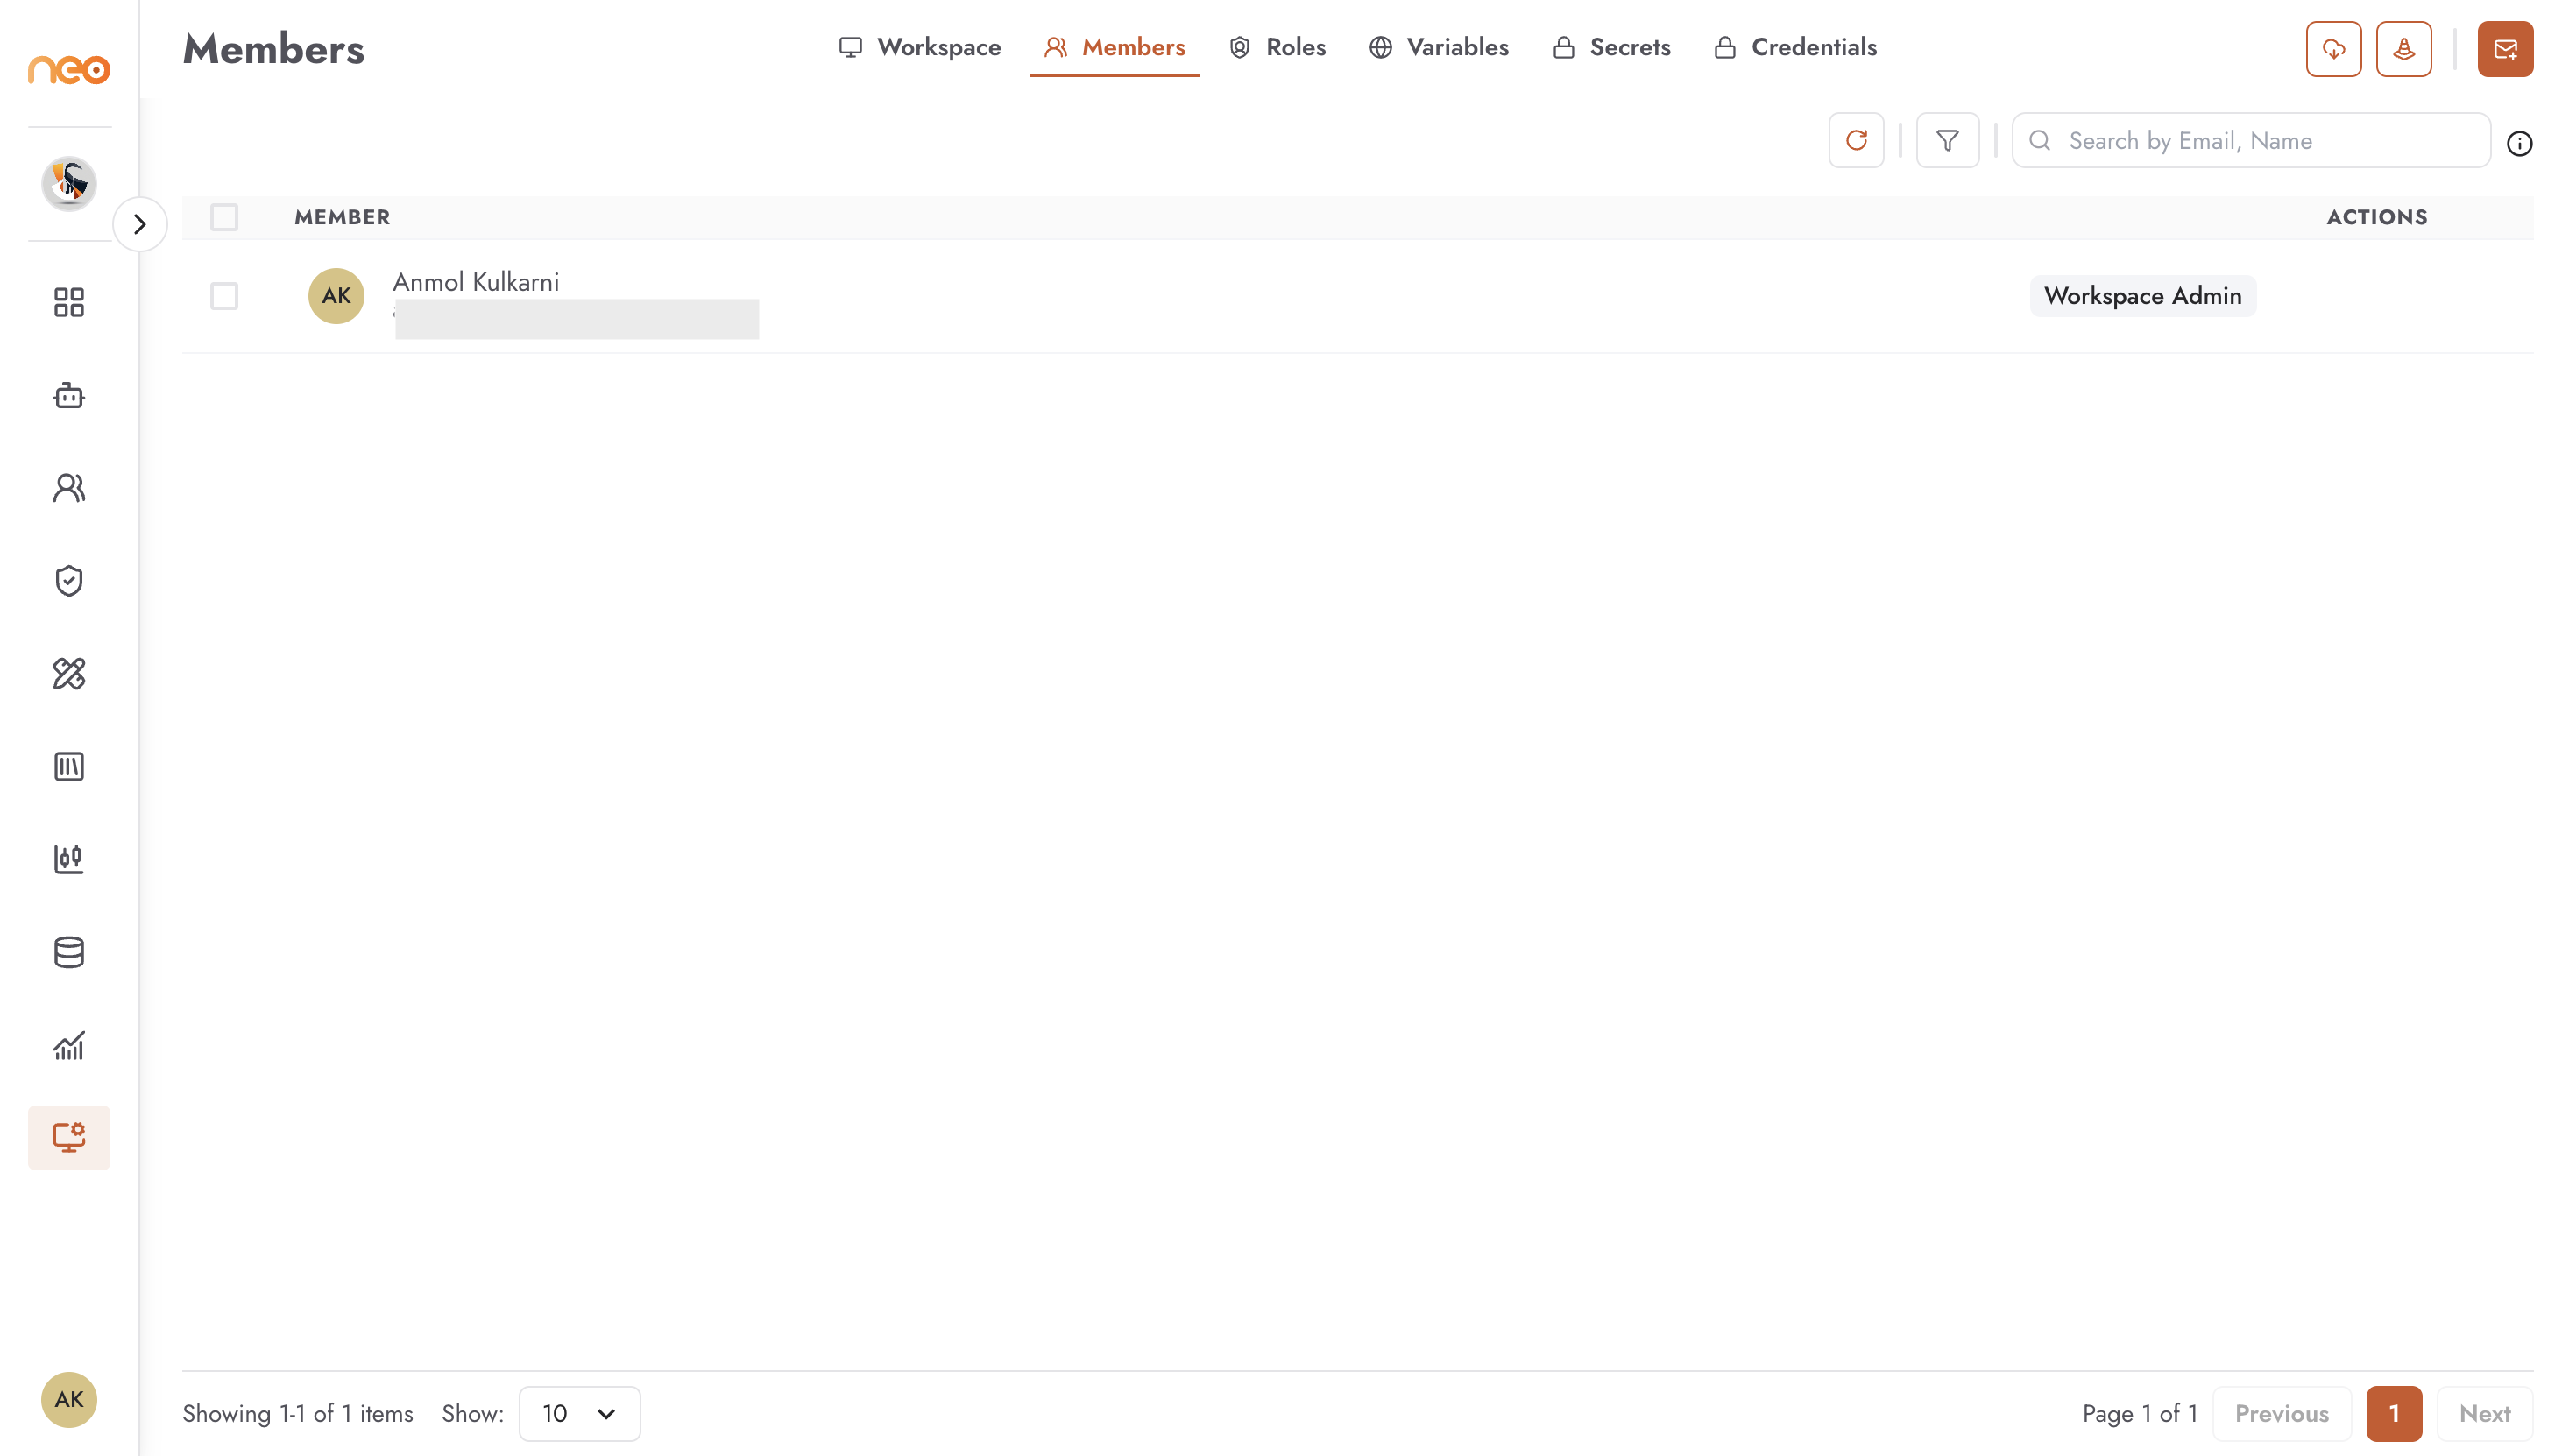
The members list shows:
Name and Avatar — the member’s display name and profile picture
Email — the member’s email address
Role — the role currently assigned to this member
Use the search box to find a specific member by name or email. For workspaces with many members, pagination controls at the bottom let you move through the list.
Inviting a New Member
Click + Invite Member to add a user to the workspace:
Enter the user’s email address
Select the role to assign
Confirm the invitation
The user gains access immediately with the permissions defined by their assigned role. If the user does not yet have a Neo account, contact your Super Administrator to have one created.
Managing Existing Members
Use the Actions menu next to any member to:
Change role — update which role the member is assigned; permissions change immediately
Remove — revoke workspace access entirely; the user’s account is not deleted, only their membership in this workspace
Review workspace membership regularly. Users who have changed teams, left the organisation, or no longer work with agents in this workspace should be removed promptly.
Best Practices
- Assign roles conservatively on invite
When inviting a new member, start with a restricted role. It is easy to broaden permissions later once the member’s requirements are understood; it is harder to notice that permissions are too broad after the fact.
- Regular membership audits
Schedule a periodic review of the members list — quarterly at minimum. Remove or downgrade users who no longer need their current level of access. Former team members or contractors who retain access after their engagement ends are a common source of unintended data exposure.