Creating Datasets
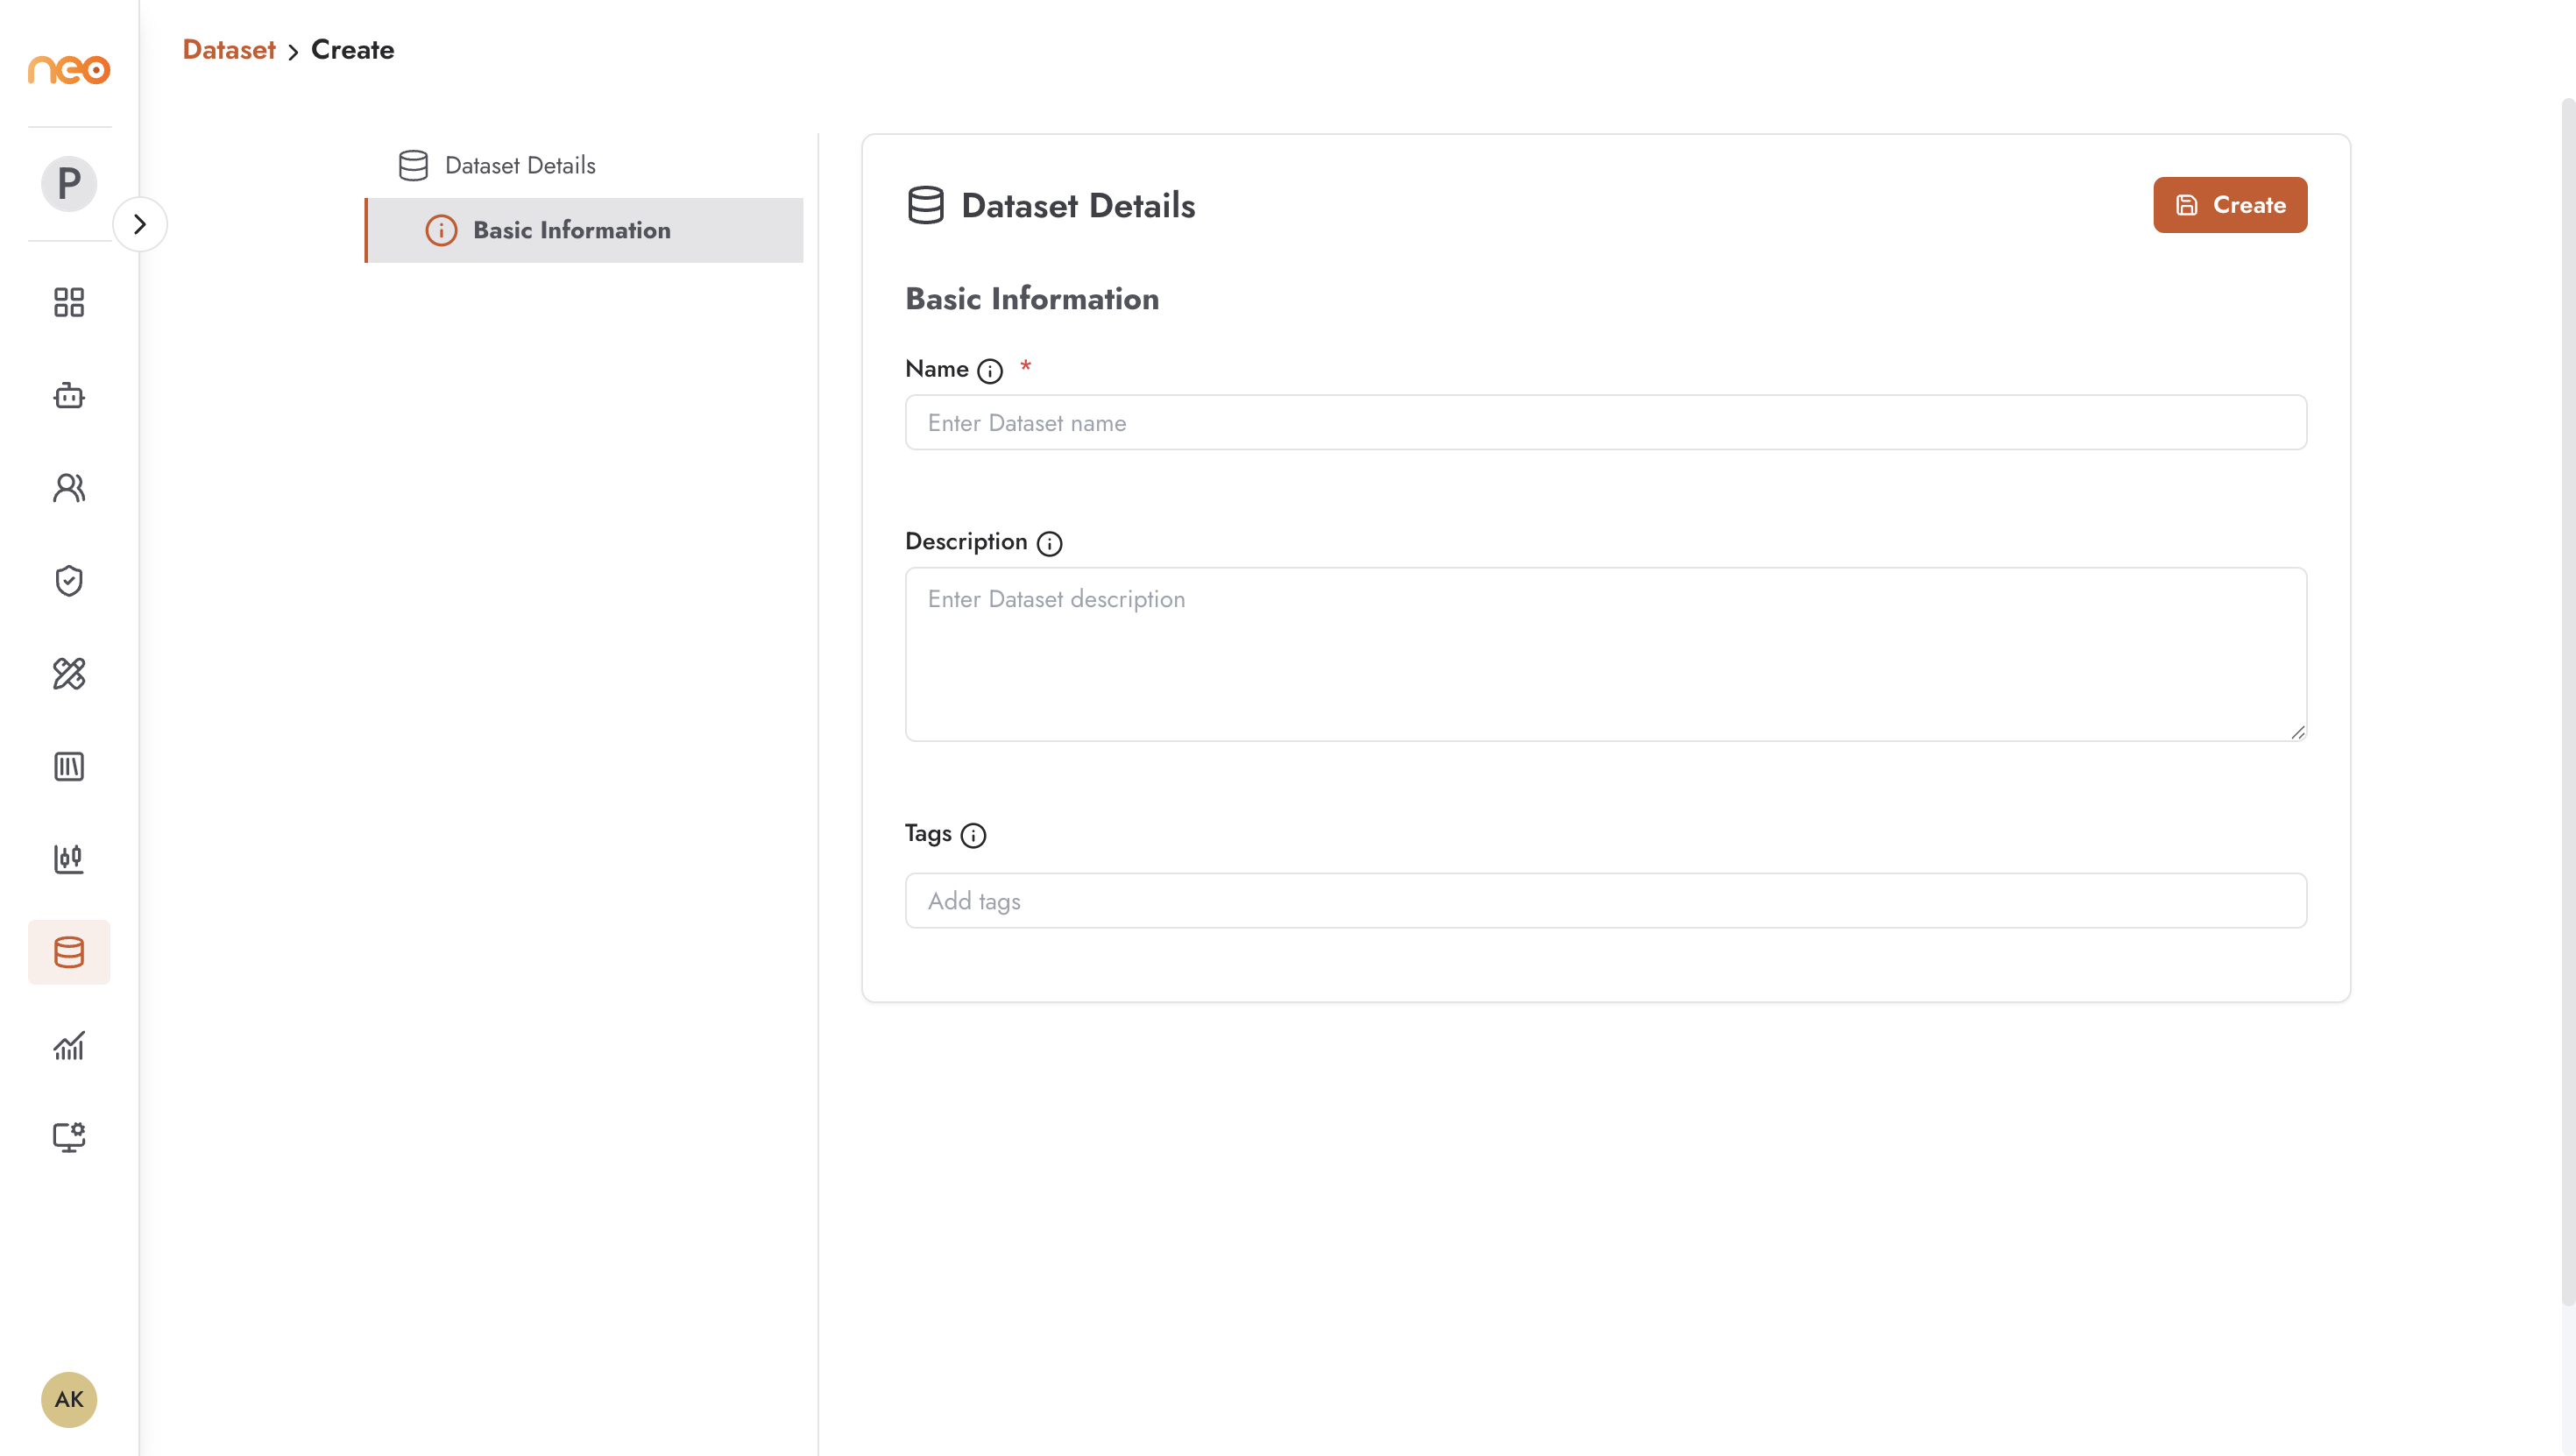
Creating a Dataset
From the Datasets page in the Foundry, click + Create. Provide:
Name — a descriptive name:
customer-support-regression,product-faq-v2,skytel-edge-cases.Description (optional) — a note about what the dataset covers and how it was assembled.
Tags (optional) — apply tags for filtering and organisation.
Click Create. The empty dataset opens immediately in the detail view where you can start adding items.
Dataset Detail View
The detail view has two tabs:
Edit — update the dataset’s name, description, and tags.
Details — view and manage the items in the dataset. This is the primary working view.
The Details tab shows the items table and action buttons at the top:
Add — manually add a single item.
Export — export the dataset as a file for backup or sharing.
Jobs — view background jobs such as ongoing CSV imports.
Upload CSV — bulk-import items from a CSV file.
Items Table
Each row in the items table represents one test case:
Item ID — a unique UUID assigned automatically.
Input — the input sent to the agent during evaluation, typically structured as a JSON conversation array:
[
  {
    "role": "system",
    "content": "Answer the question: how to recharge?"
  }
]
Expected Output — the reference response the agent should produce. Evaluators compare the agent’s actual output against this.
Metadata — optional JSON object containing additional context about the item: source information, categorisation, version tags, etc.
Created At — timestamp when the item was added.
Action — edit or delete the individual item.
The table supports search and pagination. Use the search box to filter items by content when your dataset grows large.
Adding Items from LLM Traces
The most efficient way to populate a dataset is by adding traces directly from the LLM Traces tab on any agent. Select one or more traces and use the Add to Dataset action to copy them into a dataset as items. The trace’s input and output are automatically mapped to the dataset item fields. See LLM Traces for details.
Uploading via CSV
For bulk import, click Upload CSV in the dataset detail view.
Prepare your CSV with columns that map to the dataset item fields:
A column for Input — the agent input, which can be plain text or a JSON string.
A column for Expected Output — the reference response.
Optionally, a column for Metadata — a JSON string.
During import, map each CSV column to the corresponding dataset field. Confirm to add all rows as items.
CSV preparation tips:
Use UTF-8 encoding.
If input or expected output contains JSON, ensure it is properly escaped within the CSV cell.
Large imports run as background jobs. Check the Jobs button to monitor progress.
Best Practices
Build datasets from real traces rather than hypothetical test cases wherever possible. Real traces reflect the actual distribution of queries your agents receive, making evaluation results meaningful.
Include a mix of common queries, edge cases, and examples of known past failures. A dataset that only tests happy paths will not catch regressions.
Curate expected outputs carefully. Poor-quality expected outputs directly degrade evaluation scores. If expected outputs are vague or incorrect, evaluation metrics will be unreliable.
Version your datasets by naming them with a version suffix (
support-kb-v1,support-kb-v2) rather than overwriting items. Keeping previous versions intact lets you compare evaluation results across versions.